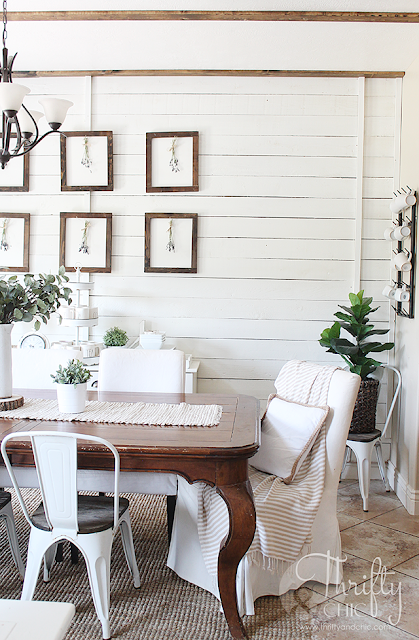
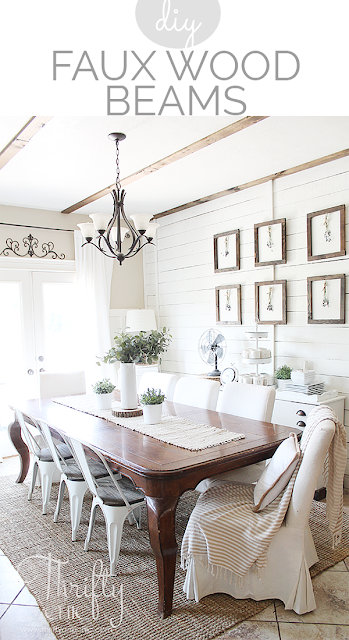
I've been a mission to add more and more character to my house. If it were up to me, I would live in a couple hundred year old house just full of the best old world character. But, instead, my house is circa 2007 :) only 189 more years to go! ha! Awhile ago, I added the planked walls (shiplap) to my dining room. Next, I envisioned some old beams across the ceiling. I had loads of ideas saved for these and just never did it. The real reason why it took me so long? Because I had to paint the ceiling. Seriously. I despise painting ceilings! Our ceiling was the same beige found around our house, and I knew it would look so much better against white. So, I finally tackled the ceiling, and seriously the next day added the faux wood beams.
I kind of wish I had waited to add the beams so I could enjoy the white ceilings longer, but I try to do things big like this when I know my husband will be gone. He doesn't quite approve of all my ideas :) So, it happened overnight pretty much!
First step was painting the ceiling. Here's a good picture of how beige it was. I taped it all off and painted it Swiss Coffee by Behr in Satin.
Next, I took the straightest and most beat up 1x4s I could find. This was pretty easy considering most people don't like the busted up boards.
Then I stained them. I started with a stain I wasn't a fan of and then changed it up to Dark Walnut by Minwax. I didn't do any sanding or anything. Left everything super rough. I stained the sides and the top, left the back alone.
I then measured out where I wanted the beams. I ended up having 40" between each one. Not knowing if my husband would approve or make me take them down immediately, I just nailed them in place with my brad nailer. I didn't want a whole bunch of screw holes in my ceiling if they were to come down any time soon. If you are sure you want to keep them up and are afraid of them falling down, secure with a screw and anchor or into a stud, or you can also glue them up. My 1 1/4" nails have held up fine so far, but that's not saying they won't fall down without me knowing :)
The 8' boards weren't long enough for my ceiling, so I had to butt up a second board to it. I wasn't sure how it would look, but I made sure it stayed consistent in location along each "beam". You can barely notice the seams now.
As for the end where my planked wall is, I had to work around the 1x2s that were already attached. So, I just cut out little squares with my jigsaw which allowed me to kind of puzzle it in place.
I did luckily get a decent shot of my white ceiling before the beams went up.
And here it is afterwards.
A couple of things if I were to do this again: I would use 1x6 boards instead. Once these 1x4s got up on the ceiling, they just look a lot smaller than what I had planned. Next, I wouldn't leave them outside to dry overnight. Most of them got warped and were really hard to work with. I ended up having to go back to the store and get some more wood to finish. So, my lessons learned :)
Here's a before picture of the beige ceiling from my Summer home tour.
And now! I am the biggest fan of wood tones against white, if you haven't noticed. So, this space just makes my heart happy :)
So, how did my husband feel about it? He got home from his fishing trip and just gave me a knowing look with no words. I didn't expect much else. He doesn't hate them enough to make me tear the down immediately. So, that's something :)
Shop the look:
Jute rug

Farmhouse Chairs

Striped Turkish Towel/Blanket

Vintage Metal Fan

DIY Lavendar Gallery Frames
Pin for later:
Disclosure of Material Connection: Some of the links in the post above are “affiliate links.” This means if you click on the link and purchase the item, I will receive an affiliate commission. Regardless, I only recommend products or services I use personally and believe will add value to my readers. I am disclosing this in accordance with the Federal Trade Commission’s 16 CFR, Part 255: “Guides Concerning the Use of Endorsements and Testimonials in Advertising.”


Yorum Gönder