Supplies:
Decoart Americana Acrylic Paint in Snow White and Santa Red
Decoart Americana Gel Stain in Walnut
Cricut Explore Air 2
White Craft Paper
Stencil Vinyl
1x8 pine wood cut at least 16" long (for trees)
1x4 @ 29"
1x3 @ 28"
Two 2x2 @ 16"
Two 2x2 @ 24"
4 corner brackets with screws
Jigsaw
Wood glue
Nail gun with 1 1/4" nails or Screw driver with 1"screws
Nails and hammer
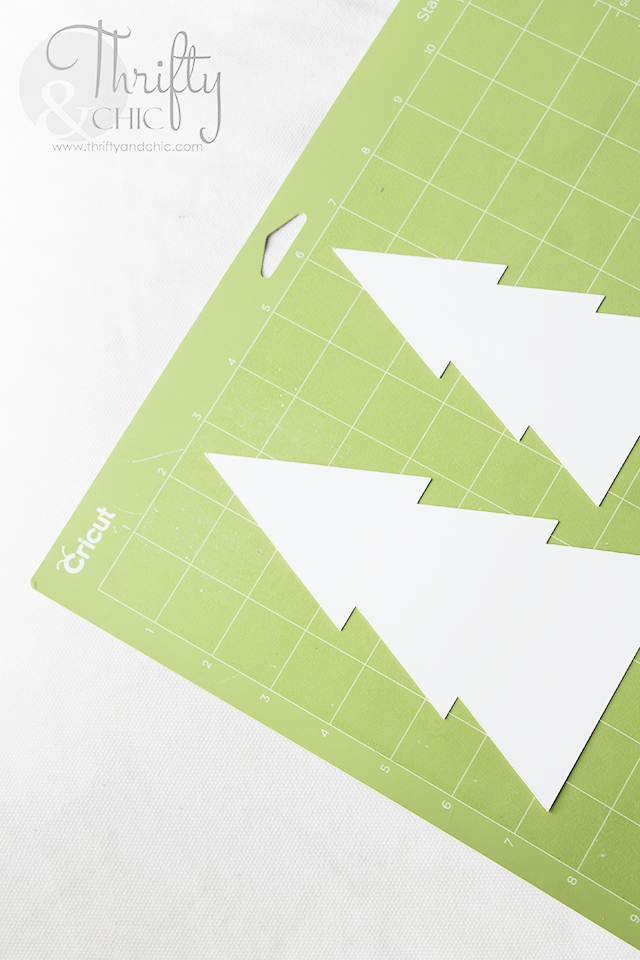
Step 1: Using the Cricut, cut out the two trees. These are the "Sweater Short Tree Icon" found in the Cricut images.
One tree is 7", the smaller tree is 5.5".
Step 2: On the 1x8, trace out the 7" tree. Cut this out with the jigsaw. Then trace and cut out two of the 5.5" tree.
Step 3: Sand the trees if needed. Then paint with Americana paint in Snow White; you may want to do 2 or 3 coats to cover uncut trace lines.
Step 4: Cut out a large "1" onto Cricut Stencil Vinyl. This is 3" tall using Stylish Calligraphy font.
Step 5: Paint over the stencil with the Santa Red.
Step 6: Now it's time to build the hanger. Connect the 24" 2x2 pieces to the 16" 2x2 pieces. From the bottom of the top 24" piece to the top of the other, it's 3". Connect these using the corner brackets.
Step 7: Center the 1x3 onto the bottom of the two 16" 2x2 pieces. You should have about a 1/2" overhang on each side. Either using the screws or the nail gun, secure the 1x3 into the bottom of the 2x2s.
Step 8: Using wood glue, center the 1x4 onto the bottom of the 1x3. The overhang will once again be about 1/2" on each end.
Step 9: Rub on the Walnut Gel Stain onto the finished hanger.This stuff by the way is great. It doesn't stink and there's no messy residue like normal stains. Great for indoor projects!
Step 10: From the left side of each 24" piece, make a mark where the nails should go. 1" from each end, and 2" in between each hole mark.
Step 11: Using small nails (make sure they have heads), hammer each nail into the mark.
Step 12: Using wood glue, center the 7" tree into the middle of the 1x3, and glue into place. Then glue the other two trees flanking that tree.
Step 13: Now to make the tags. Paint a light layer of the Santa Red onto one side of white kraft paper. Dry all the way.
Step 14: Place the red side of the kraft paper onto the Cricut cutting sheet. If your paint is completely dried, the paint should not peel off onto the board.
Step 15: Cut out the tags and have the Cricut draw your numbers. You will need to do two mats to get all the tags. Once again, the font is Stylish Calligraphy. The height of each tag is 3.5".
Step 16: On the back of each tag, on the red side, write small things that you want to do that day. Place the tags onto the nails white sides forward.
Then of course, decorate! :)
I love how simple and clean this advent calendar looks. It seems like a lot of steps to get there, but it's totally doable and completely worth it.
Depending on how you count down for Christmas, the 1 will either be Christmas day or 1 day until Christmas. If the latter is the case, write something fun on the back of the tree that you will do every year on Christmas Eve.
This is what it looks like before the countdown starts.
Then after:
The back of each tag of course says something fun to do that day.
My main go to things are movies, crafts, cookies, and hot chocolate. I'll usually try to plan on what day we'll go see the lights and other special things and put those on the corresponding number. This of course changes every year, so it's a good idea to make extra tags just in case :)
This still is just as pretty with the numbers turned over. Makes it even more festive!
Help us celebrate the holidays with DecoArt and Cricut! Check out all the great projects here. And let me know if you recreate this project! I would love to see a picture of it!
Pin for later:
Disclosure of Material Connection: This is a “sponsored post.” The company who sponsored it compensated me via a cash payment, gift, or something else of value to write it. Regardless, I only recommend products or services I use personally and believe will be good for my readers. I am disclosing this in accordance with the Federal Trade Commission’s 16 CFR, Part 255: “Guides Concerning the Use of Endorsements and Testimonials in Advertising.”


Yorum Gönder